How to Backup Files on WD with Chromebook Laptop
Introduction
Backing up your files is a crucial practice to protect data from loss and ensure easy access. Using your Chromebook laptop, you can effectively backup data to a Western Digital (WD) external drive. This guide covers everything from preparation to troubleshooting, ensuring your information remains secure and accessible. Let's delve into the steps you'll need to safeguard your valuable files by backing them up on a WD external drive using a Chromebook.

Preparing Your Chromebook and WD External Drive
Checking Compatibility
Before starting, ensure your WD external drive is compatible with your Chromebook. Most WD drives support USB connections recognized by Chrome OS, but it's advisable to check the specific device requirements.
Initial Setup of Chromebook for File Transfers
- Update your Chromebook:
- Ensure it runs the latest version of Chrome OS.
-
Go to Settings > About Chrome OS > Check for updates.
-
Enable File Transfers:
- Go to Files app settings.
- Ensure the permissions for external storage devices are granted.
Setting Up WD External Drive
- Formatting the Drive:
- Connect the WD drive to your Chromebook.
- Open the Files app, find the drive, and select 'Format' from the options.
-
Choose the appropriate file system (e.g., exFAT for compatibility).
-
Checking Space:
- Make sure there is sufficient space on the WD drive for the backup.
- This can be viewed from the drive properties in the Files app.
Backing Up Files: Step-by-Step Methods
Using the Chrome OS File Manager
Chromebooks come with a built-in File Manager that simplifies managing files and folders directly from the device. This will be crucial for transferring files between your device and the WD external drive.
Connecting WD Drive to Chromebook
- Physically Connect:
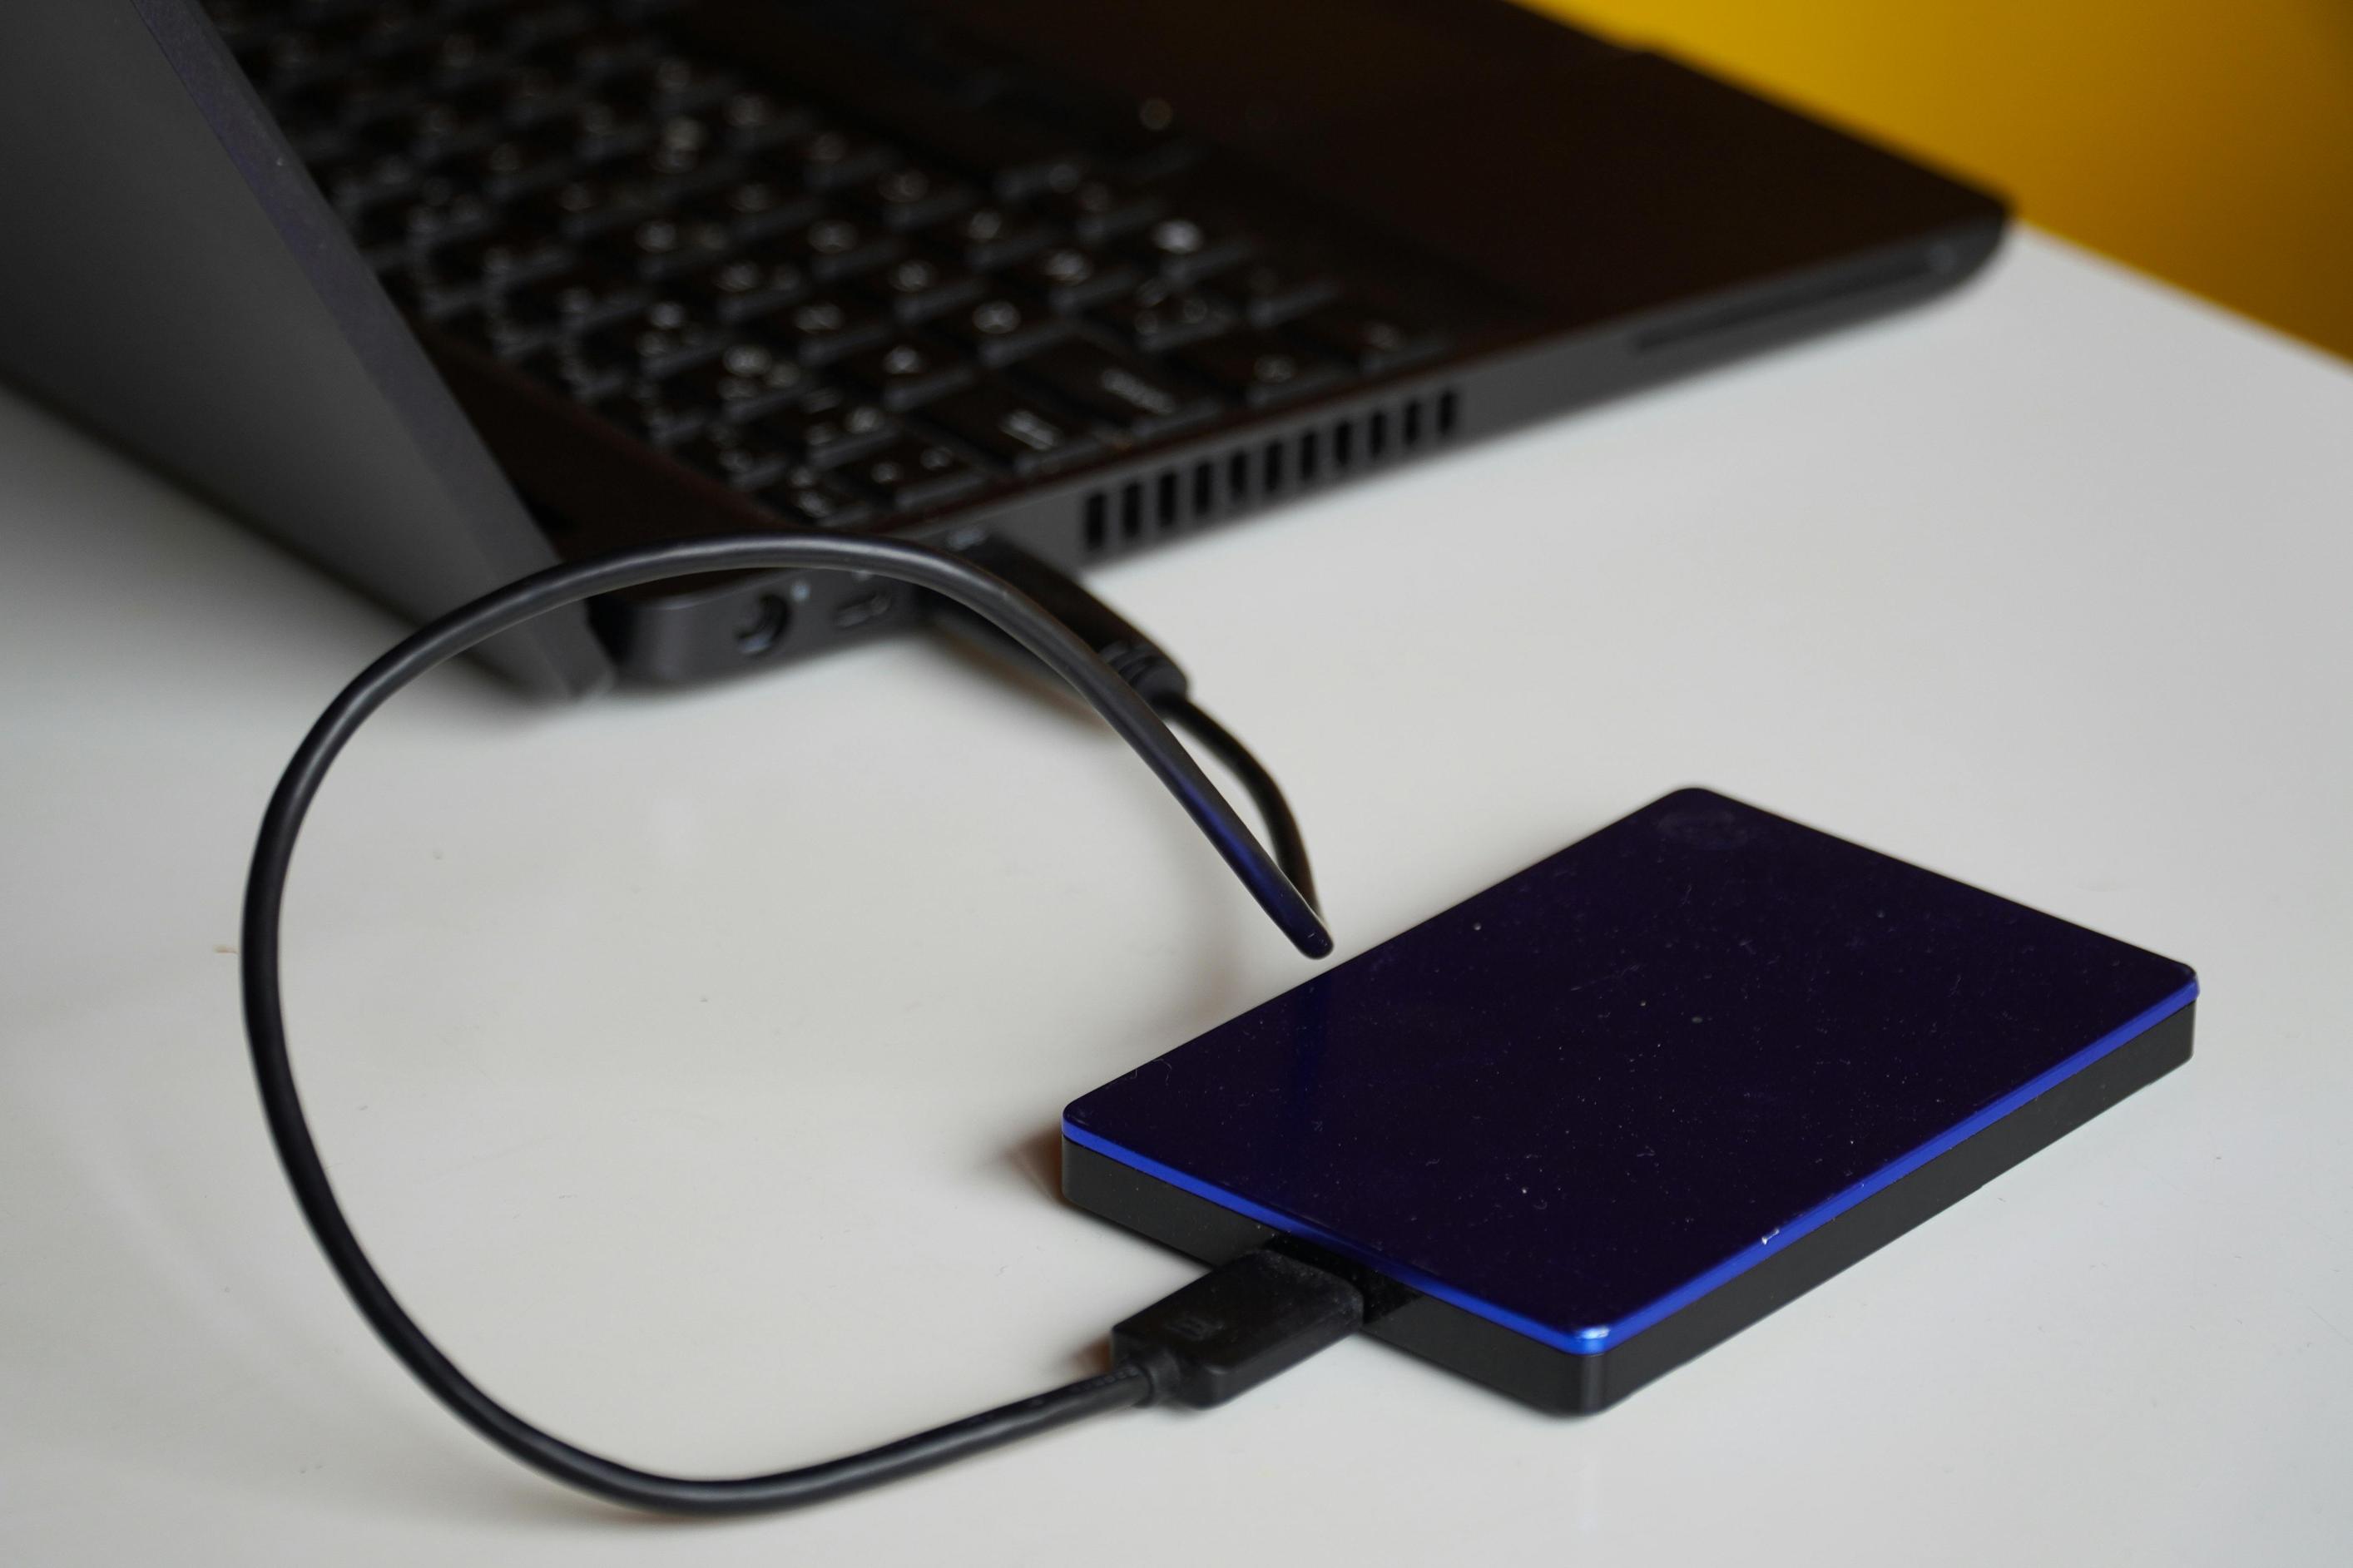
- Plug the external drive into an available USB port on your Chromebook.
- The drive should appear in the Files app under the 'External Storage' section.
Navigating and Transferring Files
- Open Files App:
-
Find your internal storage and the WD drive in the left pane.
-
Select Files:
-
Use Shift or Ctrl (Cmd) to select multiple files or folders.
-
Copy Files:
- Right-click and select 'Copy' or press Ctrl+C.
- Navigate to the WD drive, right-click and select 'Paste' or press Ctrl+V.
Using Google Drive Integration
Google Drive is natively integrated into Chrome OS, allowing easy drag-and-drop operations between your cloud storage and local devices.
Syncing Files with Google Drive
- Google Drive Sync:
-
Ensure Google Drive is synced with your Chromebook (under Settings > Accounts).
-
Drag and Drop:
- Transfer files from Google Drive to the Chromebook’s local storage, then to the WD drive.
Moving Google Drive Files to WD Drive
- Use Files App:
- Google Drive will appear in the Files app.
- Copy the desired files from Google Drive.
- Paste them onto your WD drive as you would with local files.

Automating Backup Processes
Installing Backup and Sync Software
Automatically backing up your files can save time and ensure you don’t forget to perform regular backups.
Supporting Software Options
Several software options support Chrome OS for automating backups: - Google Backup and Sync - Third-party applications such as Acronis True Image
Setting Up Backup Schedules
- Google Backup and Sync:
- Install the app from the Chrome Web Store.
- Follow the prompts to select what to back up and how often.
Using Third-Party Backup Tools
- Choose a Reliable Tool:
- Select from recommended apps that support Chrome OS.
Best Backup Tools for Chromebook
- Acronis True Image: Robust software with comprehensive options to schedule and automate backups.
- ChronoSync Express: Another reliable tool that supports detailed backup configurations.
Setup and Configuration
- Install and Configure:
- Download the app from the Chrome Web Store.
- Follow on-screen instructions to set backup paths and schedules.
Ensuring Data Security During Backup
Encrypting Your WD Drive
- Use Encryption Software:
- BitLocker (native to Windows can work on external drives).
- VeraCrypt for cross-platform compatibility.
Steps on Chromebook
- Use an External Tool:
- Utilize available Linux apps on Chromebook to aid encryption if necessary.
Protecting Your Files
- Strong Passwords:
-
Use robust, unique passwords for both your Chromebook and WD drive.
-
Two-Factor Authentication:
- Enable 2FA for any cloud accounts and where possible for hardware encryption tools.

Troubleshooting Common Issues
WD Drive Not Recognized
Sometimes, your Chromebook might not recognize the WD drive immediately.
Steps to Resolve
- Reboot Chromebook:
-
Sometimes, a simple restart can make the drive recognizable.
-
Check Connections:
- Ensure the USB cable is working properly.
Slow Transfer Speeds
Tips to Improve
- Use USB 3.0 Ports:
-
Faster than USB 2.0, ensuring quicker transfer rates.
-
Close Background Apps:
- Free up resources to improve transfer speeds.
Ensuring Data Integrity
Verifying Backed-Up Data
- Check Files:
-
Open a few files to ensure they have transferred correctly and are not corrupted.
-
Cross-Reference Sizes:
- Compare file sizes to ensure no data is missing or truncated.
Conclusion
Backing up files on a WD drive using a Chromebook is straightforward, involving compatibility checks, simple file manager utilization, and optional automation. Secure your data through encryption and regular checks, ensuring seamless and safe file transfers.
Frequently Asked Questions
What should I do if my WD drive is not recognized by my Chromebook?
First, ensure the drive is properly connected and the USB port is functioning. Restart the Chromebook and check for system updates that might improve compatibility.
Can I automate the backup process on my Chromebook?
Yes, you can use Google Backup and Sync or third-party tools like Acronis True Image to schedule and automate your backups efficiently.
How do I ensure my backup files are secure on my WD drive?
Encrypt your WD drive using tools like VeraCrypt, use strong passwords, and enable two-factor authentication whenever possible for added security.


