Sending an email from your Android phone is straightforward and convenient. Whether you're managing work correspondence or staying in touch with friends and family, having your email set up on your Android device is handy. This guide will walk you through preparing your device, setting up your account, composing emails, and utilizing advanced features to enhance your emailing experience.
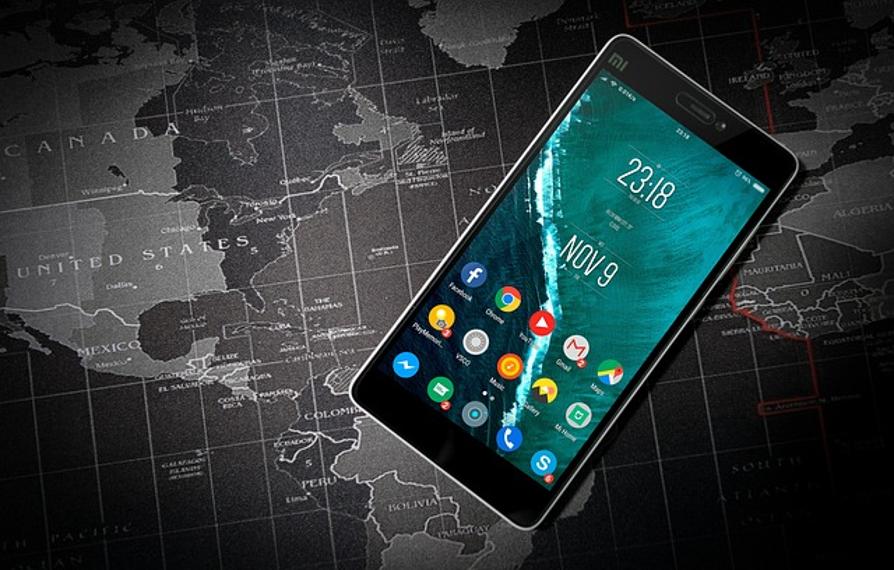
Before you can send an email from your Android phone, you need to ensure that your device is correctly set up for email usage. Smartphones today come with built-in email apps, but you may want to download a different app that suits your needs better.
With your phone ready, you are now prepared to set up your email account.
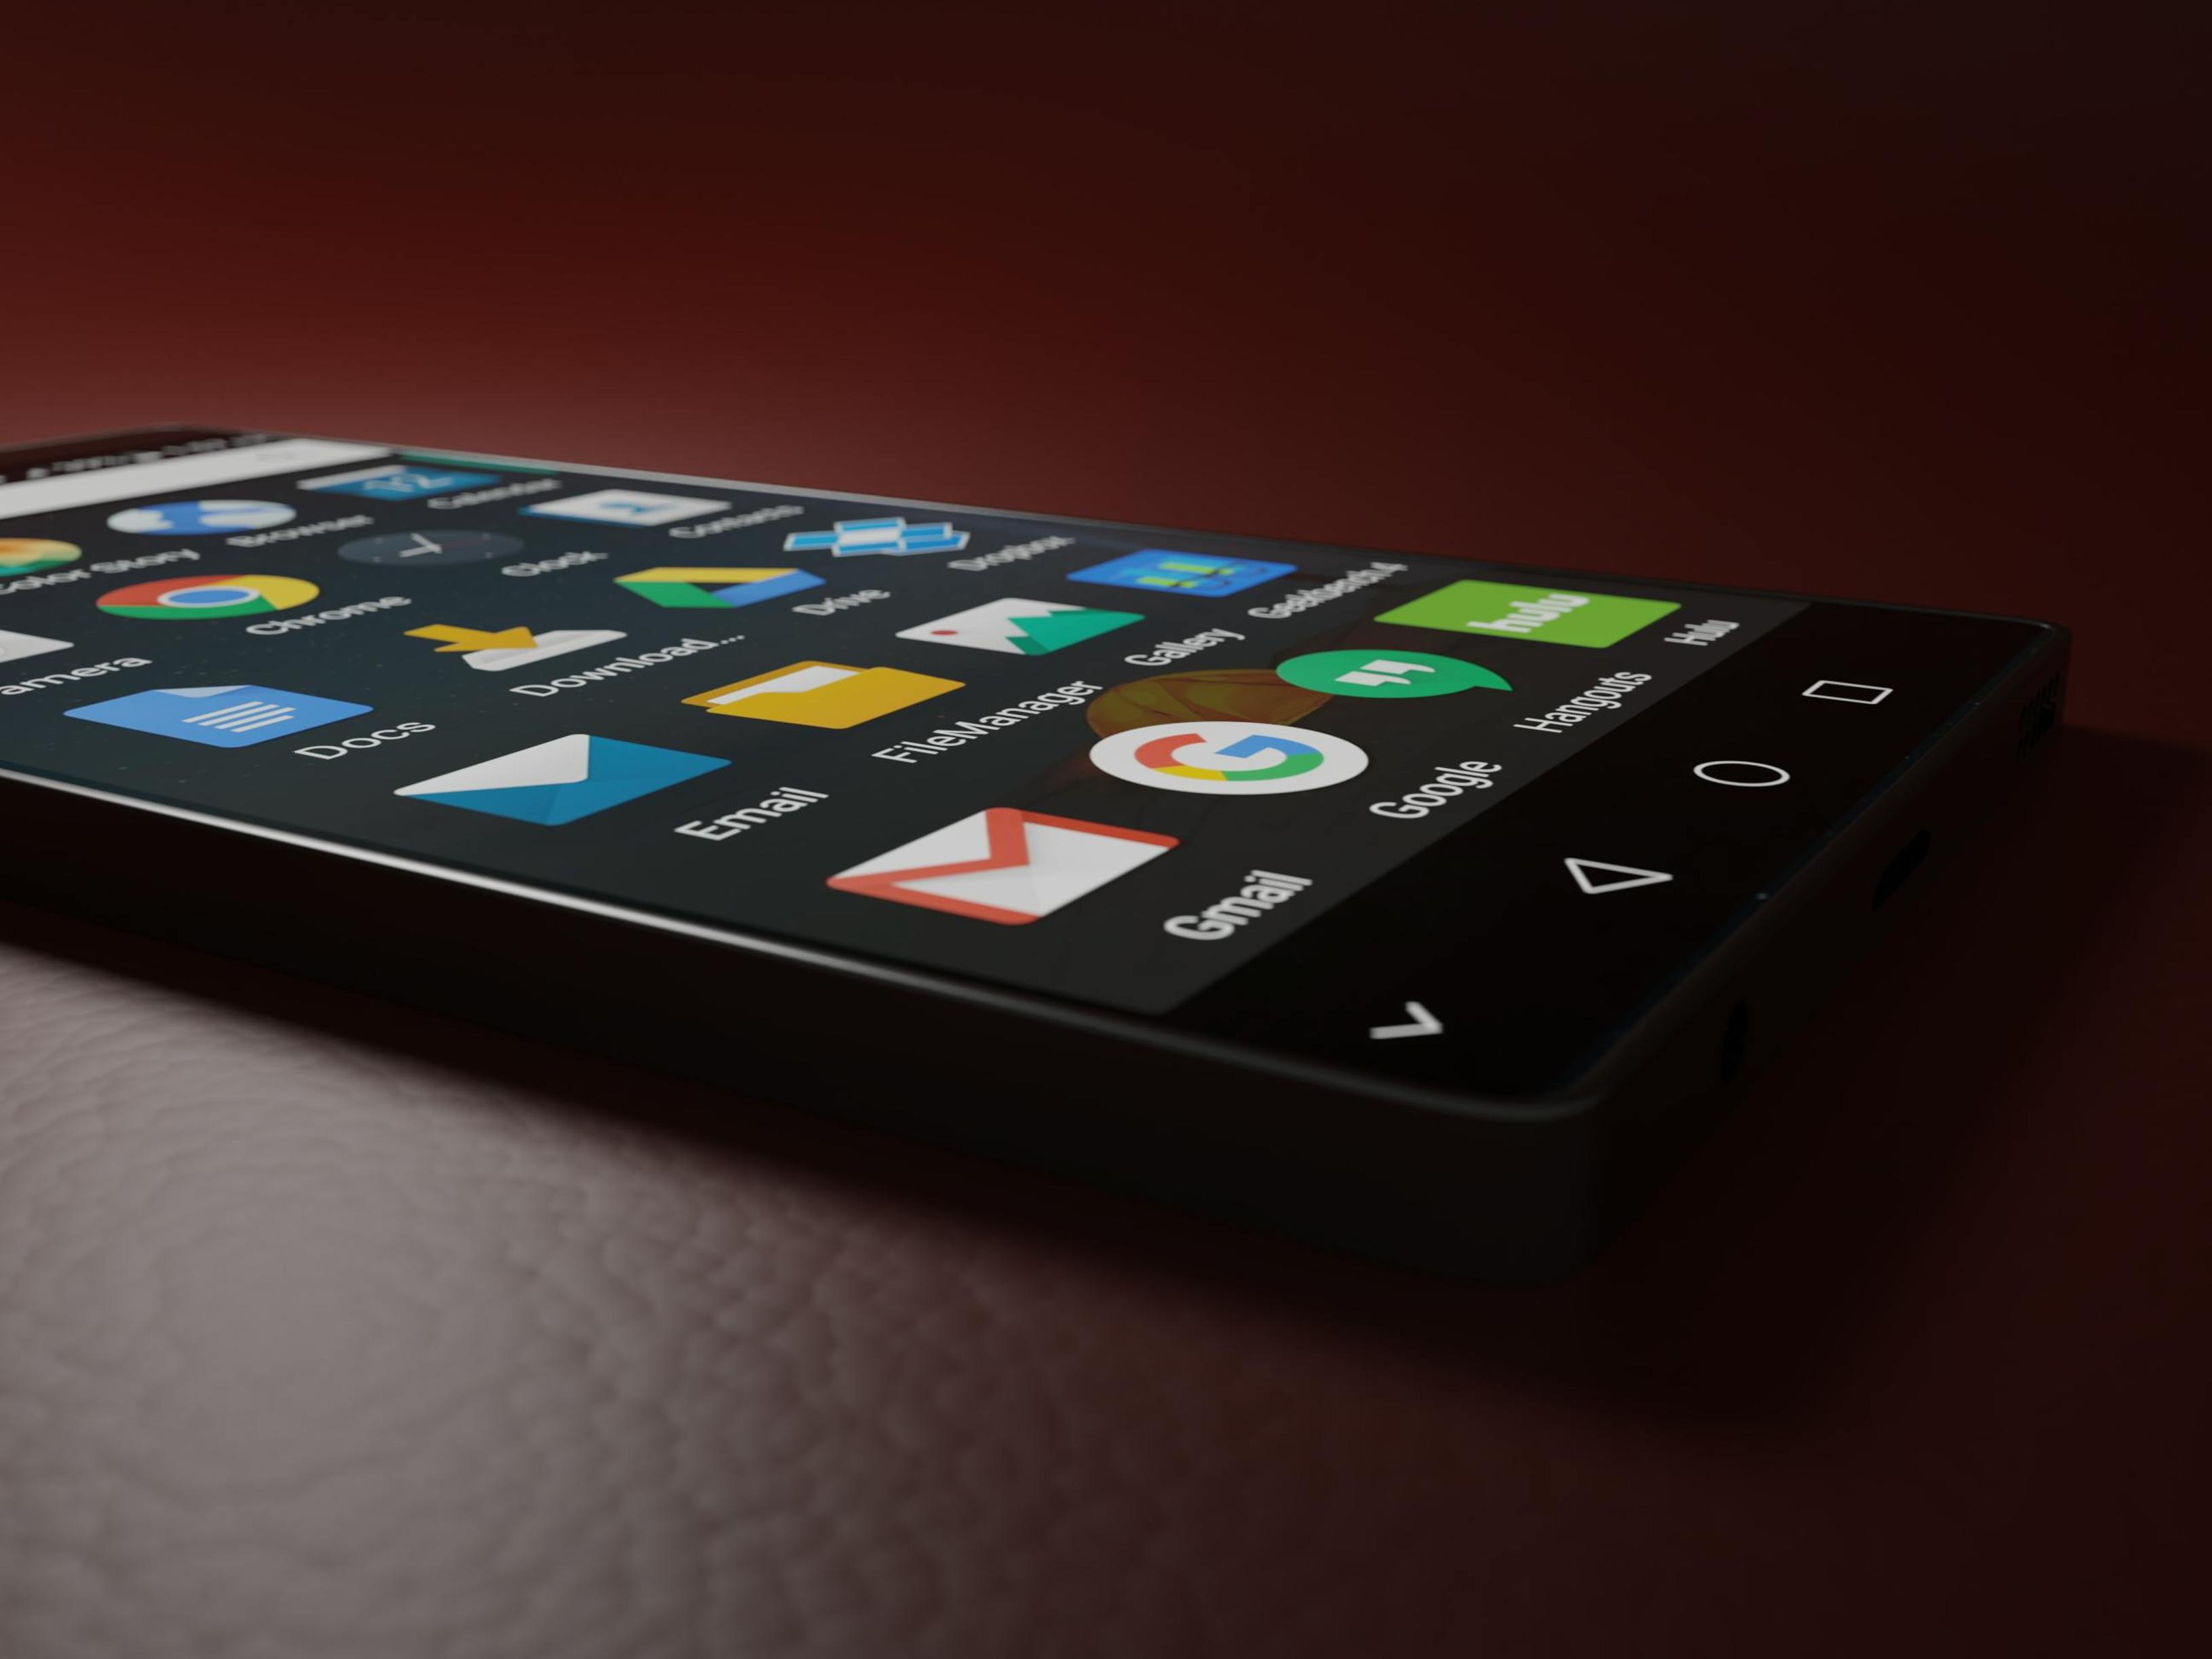
Gmail, a popular choice, comes pre-installed on most Android devices. Here’s how you can set up an email account using the Gmail app:
For Outlook, Yahoo Mail, or any other email client, the process is similar:
With your email account set up, you can now proceed to send your first email.
Adding attachments can enhance your email’s effectiveness by providing additional context or data: 1. Tap Attachment Icon: Usually depicted as a paperclip. 2. Select File: Choose the type of file to attach, such as documents, images, or videos. 3. Confirm Attachment: Ensure the file is uploaded before sending the email.
CC (Carbon Copy): If you need to send a copy to someone else besides the primary recipient, enter their email address in the CC field. BCC (Blind Carbon Copy): For a discreet copy that hides the recipient email addresses from one another, use the BCC field.
You may need to refer back to emails you've sent previously: 1. Open Email App: Start the email application. 2. Navigate to Sent Folder: Typically located in the sidebar menu or folder list. 3. View Sent Emails: Browse through your sent messages as needed.
Scheduling emails can be handy for ensuring messages are sent out at appropriate times.
Adding an email signature saves time and ensures consistency:
Auto-responses can keep people informed when you are unavailable: 1. Enable Auto-Reply: Go to the 'Out of Office' or auto-reply settings in your email app. 2. Configure Reply Message: Enter a message informing senders of your absence and when they can expect a response.

Ensure your internet connection is stable. If the problem persists, check your email settings or contact your email provider for further assistance.
Check if the file size exceeds your email provider's limit. Compress the file or use a cloud service link if necessary.
Ensure sync is enabled in your email app settings. You may need to refresh the app or restart your device.
Sending emails from your Android phone is convenient and simple with the right setup and knowledge. From launching the email app to using advanced features like scheduling and auto-responses, these steps ensure efficient email management. Stay connected and handle your correspondence effortlessly with your Android device.
In your email app, go to settings and select 'Add Account.' Follow the prompts to add additional email addresses.
Yes, but if the file exceeds the attachment size limit, consider using a cloud storage service and sharing the link.
Compose your email and look for a 'Schedule Send' option. Choose the desired date and time, then confirm.